A portable ice maker is a 120V AC appliance, not a 12V device, so running one in an RV means sizing a power inverter and wiring for its actual AC wattage (roughly 120-360W across common models), not a “12V draw.” Check your unit’s nameplate before buying an inverter.
Key takeaways
- Portable ice makers plug into a standard 115-120V AC outlet. None of them runs natively on 12V, so there is no “12V amp draw” figure to look up — the real question is how to power a 120V appliance from a 12V RV battery bank.
- Running power varies a lot by model: four real manufacturer manuals we checked show 120W-360W (about 1.5-3.0A at 115-120V). Check your specific unit’s nameplate rather than assuming one number applies to every portable ice maker.
- No manufacturer in our research publishes a startup-surge multiplier for these compressors. Treat any “multiply by 3x” or similar rule you see elsewhere as an unverified estimate, not a spec.
- Clearance requirements and safe operating temperature ranges are also brand-specific — they matter for where you place the unit inside or outside a rig.
- A pure sine wave inverter sized with a comfortable margin above the running watts, plus a healthy surge/peak rating, is the practical path to running one off-grid.
Why does the “12V” question need a different answer?
Search for this topic and you’ll find RV and camping forums debating “how many amps does a portable ice maker pull at 12V.” That framing doesn’t match how these machines are built. Every portable ice maker we found a manufacturer manual for — including the Igloo IGLICEB26WH, the hOmeLabs HME0096, the Euhomy IM-03S, and the GE Profile Opal 2.0 nugget maker — is rated for 115-120V AC power, the same as a household outlet. None of these manuals lists a 12V DC specification, because the compressor and electronics inside aren’t designed to run on 12V directly.
That means the real question for RV or camper use isn’t “what’s the 12V draw,” it’s “how do I turn my rig’s 12V battery power into the 120V AC this appliance actually needs, and how much of it will I need?” The answer is a power inverter, sized correctly, plus wiring that can carry the load.
What does a portable ice maker actually draw once it’s running?
Running wattage varies more between brands than you might expect. Here’s what four real manufacturer manuals report, each read directly from the appliance’s own nameplate specification:
- Igloo IGLICEB26WH (26 lb/day evaporator-finger model): 120W at 2A.
- hOmeLabs HME0096 “Bullet Ice”: 172-207W, listed as 1.5A while making ice and 1.8A during the harvest step.
- Euhomy IM-03S: about 360W, listed as 3.0A for both making and harvesting ice — notably higher than the other three.
- GE Profile Opal 2.0 (a different mechanism — auger-extrusion nugget ice, not evaporator-finger cubes): roughly 300W, in the 2.5-3.0A range across the sources we checked.
Put together, that’s a running range of roughly 120W-360W, or about 1.5A-3.0A at 115-120V, across four real named units. That’s too wide a spread to plan around a single “portable ice makers use X watts” rule of thumb. Before buying an inverter, find your own unit’s nameplate — usually on the back or bottom panel — and use its printed wattage or amperage, not a general figure from an article like this one.
One more wiring detail from the manuals: the Igloo-family 26 lb/day unit’s documentation specifies it must be plugged into at least a 15A, 110-115V grounded circuit. That’s the required circuit/outlet rating for safety and overload protection, not the appliance’s actual power consumption — don’t confuse the two numbers when you’re sizing a breaker or inverter output.
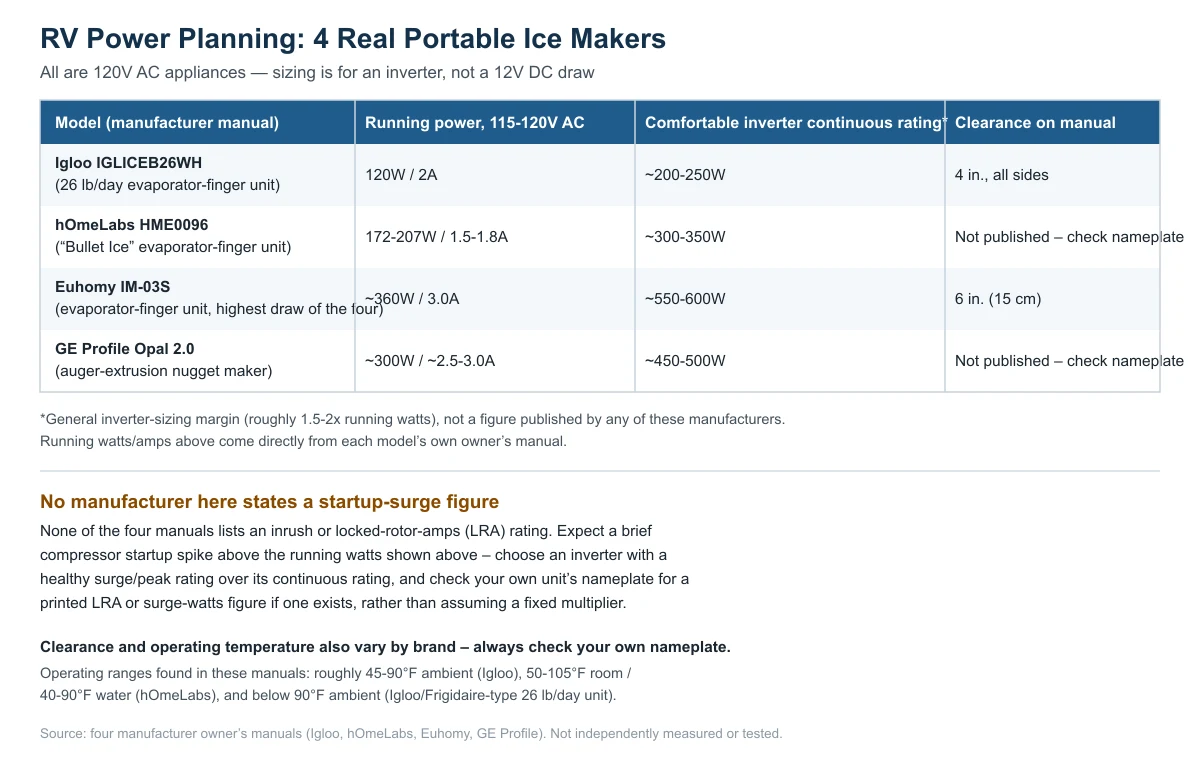
Portable ice maker RV power planning table
This table pulls together the running-power numbers above with a general inverter continuous-rating margin and each unit’s published clearance requirement, where the manufacturer states one.
| Model | Running power (115-120V AC) | Comfortable inverter continuous rating* | Clearance on the manual |
|---|---|---|---|
| Igloo IGLICEB26WH | 120W / 2A | ~200-250W | 4 in., all sides |
| hOmeLabs HME0096 | 172-207W / 1.5-1.8A | ~300-350W | Not published – check nameplate |
| Euhomy IM-03S | ~360W / 3.0A | ~550-600W | 6 in. (15 cm) |
| GE Profile Opal 2.0 | ~300W / ~2.5-3.0A | ~450-500W | Not published – check nameplate |
*This margin (roughly 1.5-2x running watts) reflects general inverter-sizing practice — giving yourself headroom rather than running an inverter at 100% of its continuous rating — not a figure any of these four manufacturers publish. Running watts/amps are each model’s own manual figures.
What about the compressor’s startup surge?
This is the part worth being careful about. Small compressors, including the ones in portable ice makers, typically draw more current for a brief moment when they first start than they do once running — that’s generally true of compressor-driven appliances. But none of the four manufacturer manuals in our research states an inrush current, a locked-rotor-amps (LRA) figure, or any specific startup-surge multiplier for these particular units.
You’ll find “multiply the running watts by 3-5x” (or other multipliers) repeated across general inverter-shopping and power-electronics explainer sites. That figure is a common convention from the inverter-sizing world in general, not a number any ice-maker manufacturer has published, and not something an independent standards body has measured for these specific appliances. Treat it as a rough, unverified planning habit at best — not a spec you can rely on with precision.
The more reliable approach: choose an inverter with a healthy surge or peak power rating well above its continuous rating (most quality inverters publish both numbers), and check your own ice maker’s nameplate or spec sheet for a printed LRA or surge-watts figure if the manufacturer happens to list one. If it doesn’t, size generously and expect a brief spike rather than betting on an exact multiplier from an unrelated source.
What size inverter and wiring should I actually look for?
Start from your specific unit’s nameplate wattage, not the table above. Then:
- Pick a pure sine wave inverter — compressor-driven appliances generally run more reliably on true sine power than on modified sine wave output, which is a widely followed practice for compressor loads in general (not an ice-maker-specific manufacturer claim).
- Size the inverter’s continuous rating comfortably above your unit’s running watts, using the margin approach in the table above as a starting point.
- Check the inverter’s surge or peak rating and favor one with generous headroom there, since no manufacturer gives you an exact number to design against.
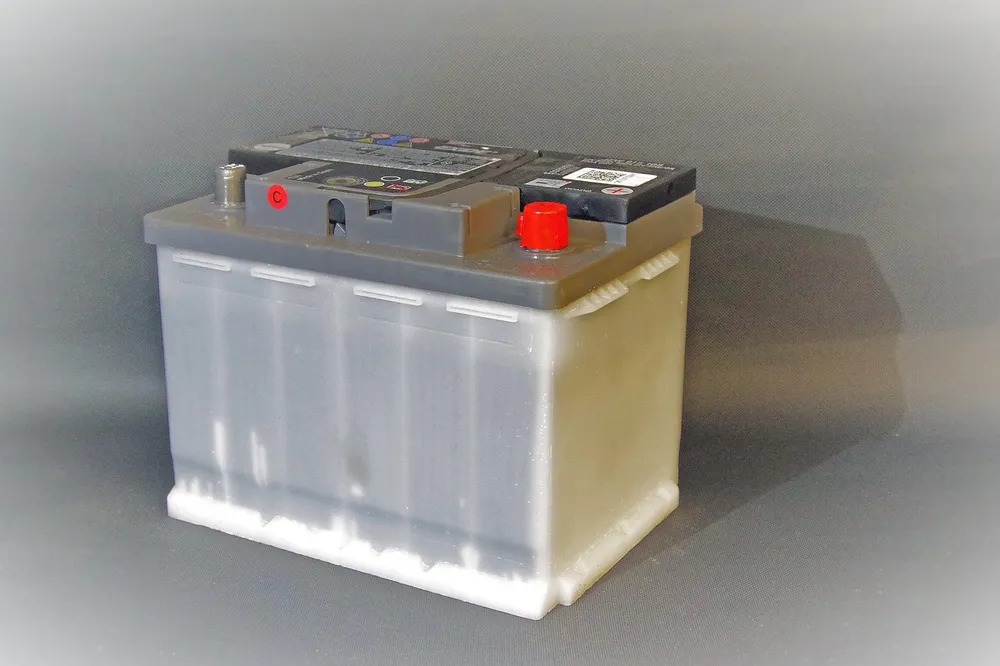
- Make sure the wiring and fuse/breaker between the battery and inverter is sized for the inverter’s input current at 12V, which is a separate calculation from the appliance’s 120V output side — this is wiring and installation work, and it’s worth following the inverter manufacturer’s own installation guide or having an RV electrician or qualified technician size the cable gauge and fuse for your specific inverter and battery bank, especially for a permanent installation.
- Confirm your battery bank’s usable capacity can support the ice maker’s running watts for as long as you plan to run it each day, on top of everything else drawing from the same battery bank.
If any of this is new to you, ask a licensed RV technician, marine electrician, or the inverter manufacturer’s support line to confirm your setup before wiring anything permanently — inverter installation carries real electrical and fire-safety stakes, and the inverter and RV electrical system manufacturers’ own instructions should take priority over general guidance like this.
Where should it run inside or outside the rig?
Placement affects both performance and safety, and the manuals don’t agree on one clearance number. The Igloo IGLICEB26WH calls for 4 inches of clearance on all sides; the Euhomy IM-03S asks for 6 inches (15 cm); a representative 26 lb/day Igloo/Frigidaire-type unit’s documentation specifies 8 inches around a dedicated, uncrowded outlet. Don’t assume your unit matches one of these — check its own manual.
All of the manuals we reviewed also warn against placing the unit in direct sunlight or next to a heat source, which matters in an RV: a closed cabinet, a spot near a stove, or a sun-baked dashboard area are all poor choices. A ventilated counter space with real airflow on all sides is closer to what these manuals ask for.
Operating temperature ranges are brand-specific too. The Igloo manual calls for roughly 45-90°F ambient and water temperature; the hOmeLabs manual allows a 50-105°F room with 40-90°F water; a representative Igloo/Frigidaire-type unit’s documentation simply requires staying under 90°F ambient. In hot-climate camping, that spread matters — a unit baking at over 90°F ambient may simply stop making ice rather than get damaged, which is a different problem from ice melting too fast once it’s made.
Does running an ice maker off an inverter change anything else about using it?
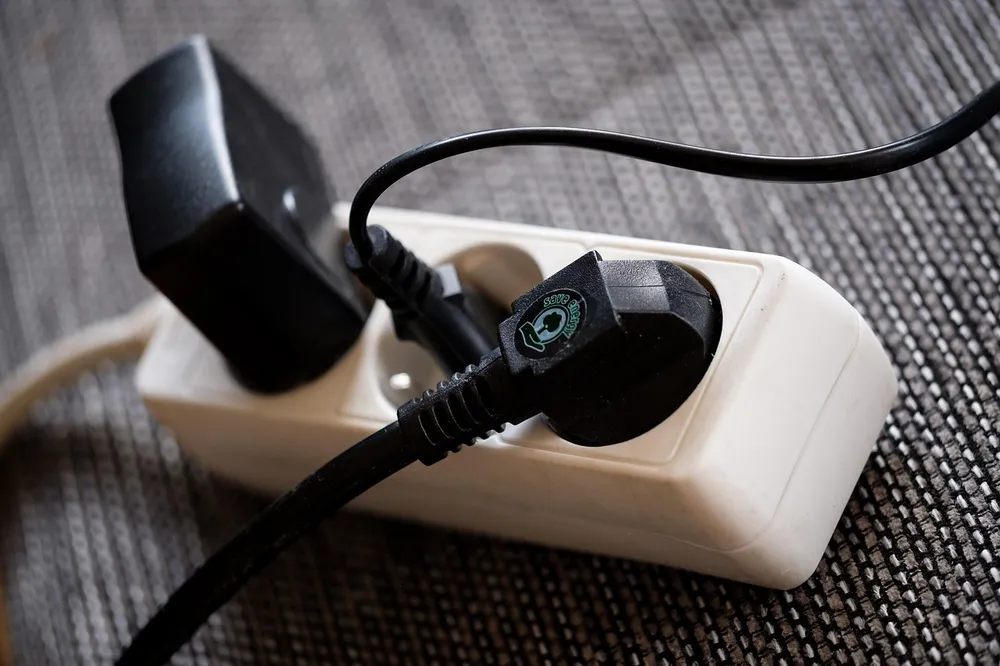
Not mechanically — once it has clean 120V AC power at the right wattage, the ice maker doesn’t know or care whether that power came from a wall outlet or an inverter. What does change in an RV: placement and temperature (see above), daily battery planning, and keeping the inverter’s output — and any outlet strip between it and the ice maker — free of another high-draw appliance that could trip the breaker.
A basic household drain setup still applies the same way it would at home — most portable units rely on a manual drain plug rather than a plumbed line, which is worth planning for in a rig with limited counter and sink space. And whatever power source you’re using, the same basic hygiene habits around draining and drying the reservoir apply just as much on the road as they do at home.
How do I decide which type of ice to plan power around?
If you’re still choosing a unit for RV use, the inverter-sizing question connects to which ice-making mechanism you pick. Evaporator-finger units (like the Igloo, hOmeLabs, and Euhomy models in the table above) tend to run lighter than auger-extrusion nugget makers like the GE Profile Opal, which pulls more continuous current for its auger motor on top of the compressor. For a full breakdown of how the ice types differ in texture, melt rate, and upkeep — not just power draw — see our comparison of nugget, cube, and so-called clear countertop ice. And if you haven’t settled on a unit yet at all, our portable ice maker buying guide walks through matching capacity, drain type, and footprint to specific use cases, including RV and camping.
Frequently asked questions
Can I run a portable ice maker directly off a 12V RV battery without an inverter?
No. These appliances are built for 115-120V AC power, not 12V DC, and none of the manufacturer manuals we checked lists a 12V operating mode. To run one from a 12V battery bank, you need a power inverter that converts the battery’s DC power to AC at the voltage and wattage the ice maker’s nameplate requires.
How many watts of inverter do I need for a portable ice maker?
It depends on your specific unit — running power across four real models we checked ranges from about 120W to 360W. Check your unit’s own nameplate, then choose an inverter with a comfortable continuous rating above that figure and a generous surge/peak rating, since no manufacturer publishes an exact startup-surge number for these compressors.
Is the startup surge for a portable ice maker really 3 to 5 times the running watts?
That specific multiplier is not something any ice-maker manufacturer publishes — it’s a general estimate repeated on inverter-shopping sites, not a measured spec for these appliances. Rather than relying on a precise number, pick an inverter with healthy surge headroom above its continuous rating and check your unit’s nameplate for a printed surge or LRA figure if one exists.
Does a portable ice maker need a dedicated circuit or inverter channel in an RV?
One manufacturer’s documentation for a 26 lb/day unit specifically calls for at least a 15A, 110-115V grounded circuit not shared with another appliance. Whether or not your model states the same requirement, running it off an inverter channel that isn’t also carrying another high-draw device reduces the chance of nuisance tripping.
Will cold or hot outdoor temperatures stop my portable ice maker from working in an RV?
Possibly, depending on the model. Manufacturer operating ranges we found span roughly 45-105°F depending on the brand, with some units requiring ambient temperature to stay under 90°F. Running one in a closed, sun-heated cabinet or in freezing shoulder-season weather can push it outside its rated range — check your own unit’s manual for its specific limits.
Sources
- Igloo IGLICEB26WH Automatic Ice Maker owner’s manual, distributed by Nostalgia Products LLC — running wattage, circuit requirement, and clearance specifications.
- hOmeLabs HME0096 “Bullet Ice” portable ice maker manual — running current and operating temperature range.
- Euhomy IM-03S ice maker manual and manufacturer Q&A — running current and clearance specification.
- GE Profile Opal 2.0 Nugget Ice Maker manual/specifications, manufacturer-hosted PDF mirror — running current range and auger-extrusion mechanism.
portableicemakerly.com Editorial Team. Last updated: November 13, 2026.